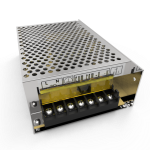
Power supply 12V 10A (120W)
You can use 5A and also 10A. The difference is in the stability of the engine speed and the stability of the nozzle temperature. The stronger the source, the faster the nozzle heats up.
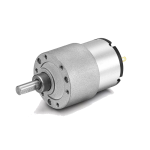
12V (7RPM) DC motor
The motor is built into the holder and drives the spool for winding the finished pet filament. This 12V DC motor has its own gearbox (it is not necessary to print the gearbox). This means very high torque without any additional gear system.
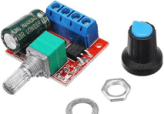
PWM Regulator 12V 5A
PWM 12V DC Motor Speed Controller Module DC-DC 4.5V-35V Adjustable Speed Regulator. This small component allows for a smooth reduction or increase in engine speed without loss of torque.

Heat Block
The heat block is the part heated by the heating element (12V 40W). When choosing, it is important to know that the larger the block, the slower it cools with less temperature fluctuations.
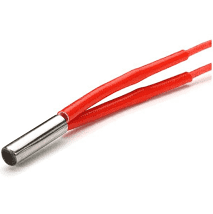
Heater 12V (40W):
Ceramic heater 12V (40W) is a component that is inserted into the heat block and ensures heating of the nozzle. It is a cheap and simple component.
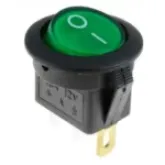
Color Switch (230V)
The colored power switch used in the previous version of PETamentor. It is important that the switch is sized for the power of your socket. If your local network is 110V, you can safely use a switch for 230V, never the other way around!
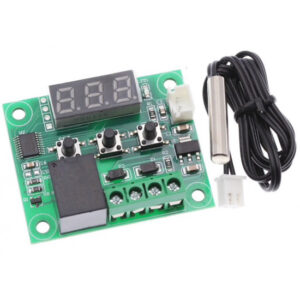
W1209 Thermo Controller
This simple and cheap controller is heart of PETamentor. It can be alternatively used to control the heat up your nozzle more than you need. But don’t worry, we know how to handle it.
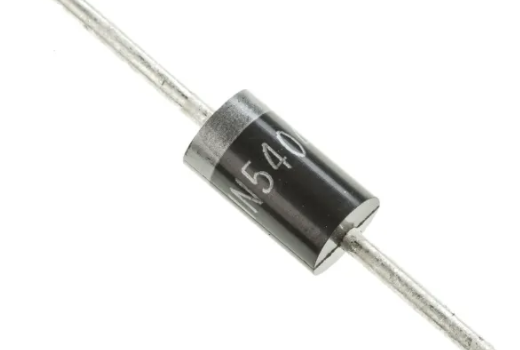
Diode 5408
This small cheap diode allows you to hack the w1209 thermocontroller to bypass its native function interval (only up to 110°C). After aplying this diode you will be able easily reach temperatures over 260°C!
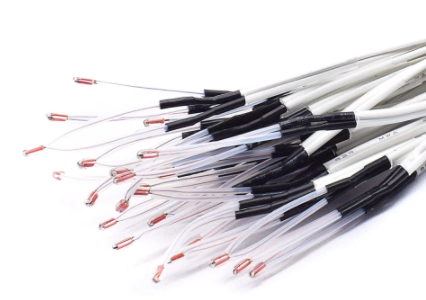
100K Thermistor
100K thermistor is the temperature sensor, wich is normally used in most of the 3d printers. Maybe you have some thermistors on your working table. If not, you will get some spare one. (Theyre coming in packs)
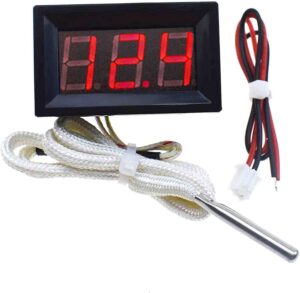
Thermometer
You need to measure your actual nozzle temperature with external solution. The W1209 will show you bad temperature. It’s caused with diode hack.
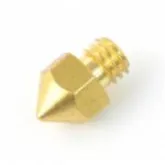
The Nozzle
To convert a PET bottle into filament, I use a standard nozzle with a diameter of 0.4 mm, which must be drilled. Drilling is very simple, using a 1.5mm drill bit. Here is a video tutorial.
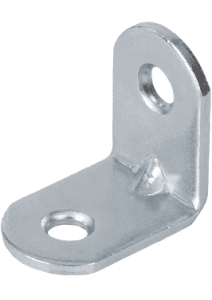
Metal Bracket
L shape metal bracket (20×20) for mouting a heatblock with the nozzle. Hole is little bit tight, so its better to drill it with 6mm drill bit (only for a nozzle).